navigationmenu

Showing posts with label chalk paint. Show all posts

Wednesday, July 30, 2014

China Cabinet

A couple of weeks ago I decided {on a whim} to make over my grandfather's china cabinet. This was given to me by my parents shortly after we bought our house. I hesitated to refinish it, just because it has been such a sentimental piece to our family. Even 15 years after my grandfather's passing, I swear that when you open those cabinet doors, you can still smell the scent of his house. It's crazy how scents can take you back in time in an instant. I thought the wood finish on this piece was pretty, but just not my style. It had lots of orange undertones in the wood, and I just don't do orange wood. If you can't tell by looking at my Pinterest boards, I am very much into shabby, farmhouse pieces.

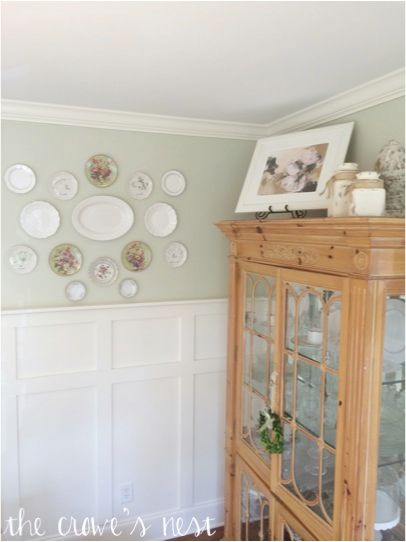
here is a peek into the other side of our dining room
This china cabinet just needed for interest for me. I started this project at 7:00 on a Saturday morning, thinking I could just "knock it out" by lunch time. My over-eager self was sorely disappointed when at 8pm that night I was still working on it. But, I am so happy that I spent that time working on this. It fits in perfectly :)

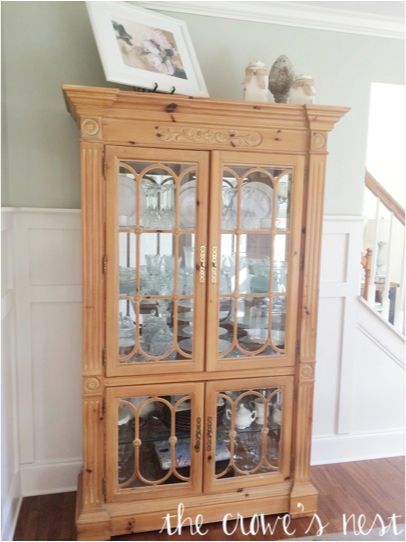
Here are a few shots of the cabinet before:
To refinish a piece like this you'll need:
-Chalk Paint: I used Farmhouse brand, which can be found at Olive Branch Boutique
-Rustoleum Decorative Glaze in Java, and damp paper towels or old wash cloth
-Sand paper
-Spray Paint

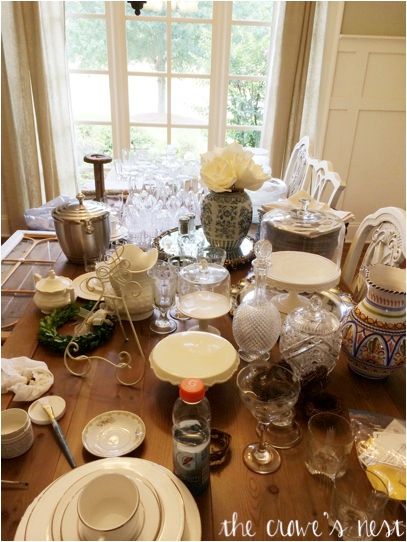
I started first by taking off all the doors, removing hardware, using painter's tape to tape off windows and of course cleaning out all of my china to prep the area for paint. Prep work always takes the longest. Here's a peek into how messing re-doing furniture can be. This is real life, people.
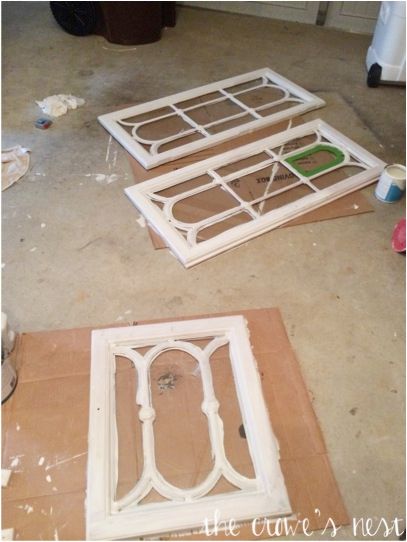
Then, I started painting the body of the china cabinet with chalk paint. What I have really grown to love about this paint is that you seriously DO NOT need to sand before painting. You apply it directly to your piece and it adheres great. Such a time saver. Also, a small quart of paint painted this entire cabinet plus my mantle I have been working on. It costs about $33.00 for the quart, but lasts a long time.

Painting the body of the cabinet took the longest. For all of the detail work I used a small paintbrush to make sure I got into each crevice. I then took all of the doors into the garage, and painted them. This cabinet took 3 coats of paint total. It's also very important that you let it dry in between each coat.
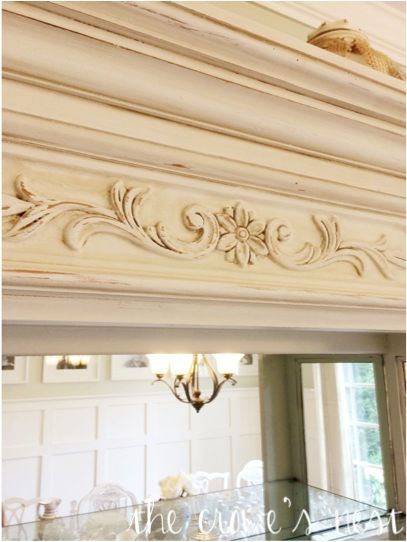
In between all of those coats of paint drying, I took all of my gold hardware that was there previously and spray painted it with a matte black. Once paint was dry on the cabinet, I took my Rustoleum decorative glaze and worked in small areas, applied with a small paint brush, and then immediately wiped off the glaze with a damp paper towel. This glaze got into all the crevices to give it a distressed look. Once that dried, I used sandpaper to distress it even more. This also gives the chalk paint a nice finish. Chalk paint already dries SO smooth, but sanding it really helps give it a little sheen. 
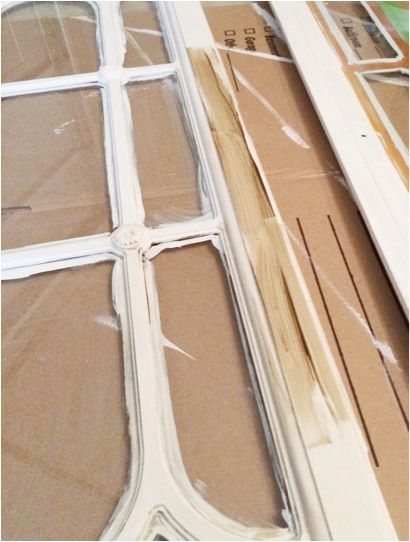
Make sure to work in small areas when using Rustoleum glaze.

detailed picture after using Rustoleum and sanding.

Once all of the distressing was done, and dried. We cleaned the windows with Windex and a straight razor to get excess paint off, reattached hardware, and added doors back to cabinet.
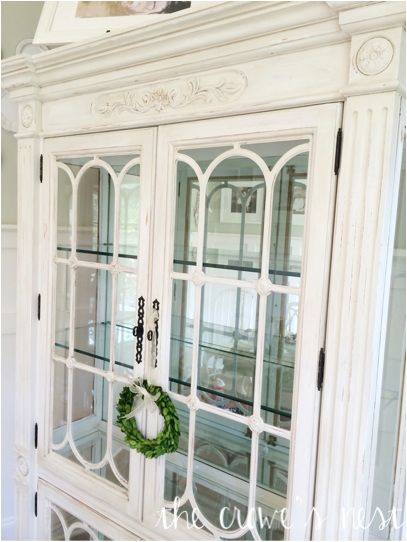
love the sweet details of a little boxwood wreath


Hope you enjoyed! :) Happy Wednesday.

Saturday, July 19, 2014

Game Changer

As many of you know, I am an avid antiquer. Growing up I always felt like I was forced to go into the antique stores, flea markets, and thrift stores with my mom and dad. I used to D R E A D it! But, since becoming an adult myself, I feel like every day I become more and more like my mother. I even say things sometimes that make me stop dead in my tracks. Like, did I really just say that? Many of you know my mom, and know that it is such a compliment for anyone to say that I am like her. She is truly an inspiration of faith and hard work. Not to mention, she is a constant encourager of my dreams (this blog being one of them).
photo by Happy Everything Co.

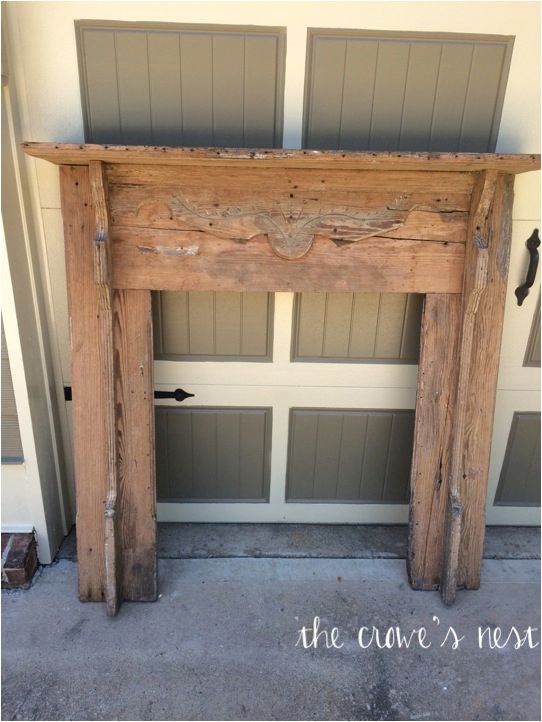
Anyways... During the days that I am off work, I try to make it a point to make time for things that I truly enjoy doing. I want to make the most of the days that I don't have to work, and going into my favorite antique stores is one of those things. Last Wednesday, I spent a couple of hours at The Olive Branch Boutique. I originally stopped in just to look, and pick up some chalk paint. But, while looking, I found the most amazing mantle that was pulled out of a local 1800's farmhouse. You can even see the nail holes where they used to hang their stockings at Christmas. I knew I had to have it. The owner of that booth happened to be working there that day and gave me a deal on the price, so I knew it was MEANT TO BE.
I plan to put this in our master bedroom, so more details on that coming soon!
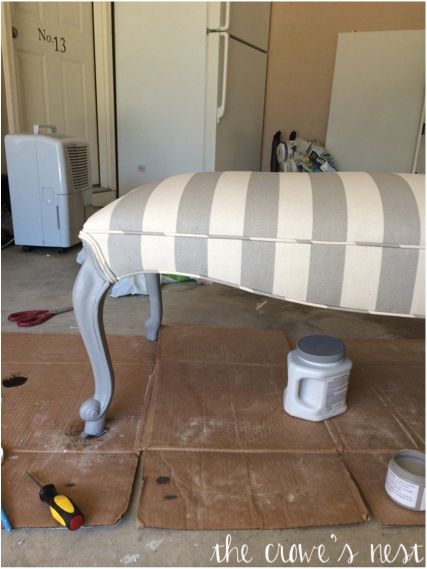
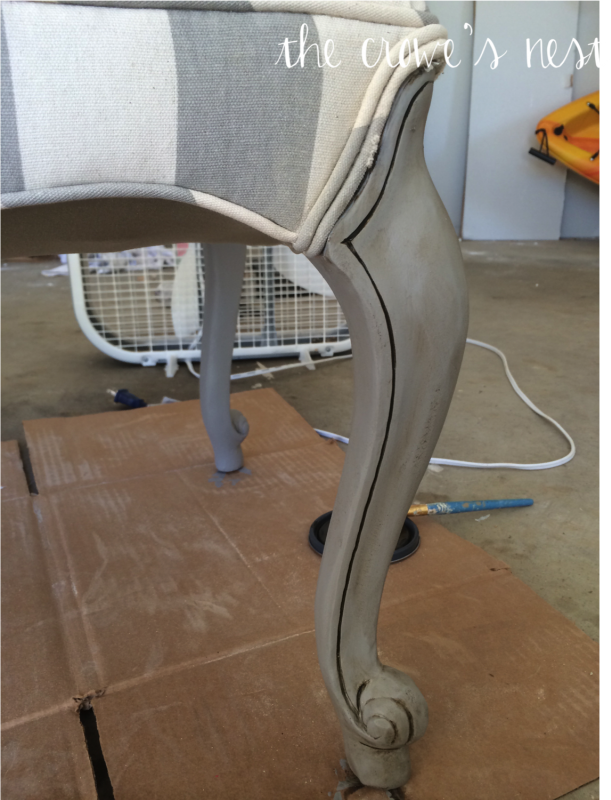
I was unable to fit the mantle in my car, so the owner even dropped it by my house later that day. They are wonderful there, and if you are in the Cartersville area, you should definitely check them out! Before I left the store, I sat at talked to one of the ladies that works there about refinishing furniture. I felt like I knew what I was doing when it came to repainting furniture, until I talked to her. I have worked with chalk paint quite a few times, and my technique when it came to painting was fine. But, there was one step I was missing. After painting all of her furniture with whatever color chalk paint she chose, she then uses a product from Rustoleum called Transformations Decorative Glaze in Java.  Once you finish painting your furniture, you take a small brush, paint this glaze on a small area of your piece and wipe with a rag or damp paper towel. The Java color works well with lighter chalk paints. This product seeps into the crevices of your piece, making it look distressed without all the sanding. Now, with all that being said, I felt so dumb I did not already know about this! I came home to tell my husband about it, and even he knew this product existed. WHAT?! So, many of you might already know about using a decorative glaze, but for those who don't, this is a GAME CHANGER. For only $15.00, it's worth it. I have already used it on the legs of this bench at the foot of our bed, and on a huge china cabinet and have not even used 1/4 of it.

Using Grey Limoge Farmhouse brand chalk paint that can be found at The Olive Branch
After adding the Java glaze on top of the grey chalk paint

 What I found when using it on the china cabinet though, is that it made the white chalk paint a little too dark/dirty looking at first. I did this lightly over the white, with my brush almost dry and still sanded after using it to get more of the "chippy white" look. But, it is definitely a good product to keep on hand. More details on my china cabinet coming this week. Plus, a tour of our dining room and sources also to come this week {hopefully}.

Hope this inspired all of you to paint something a fresh new color :) Don't be afraid of change-- paint is one of the easiest things to fix if you don't like it.