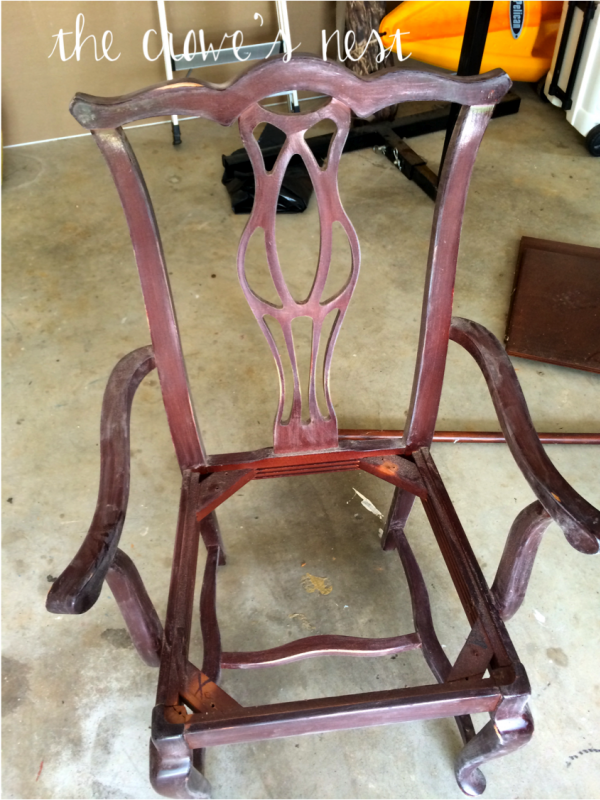
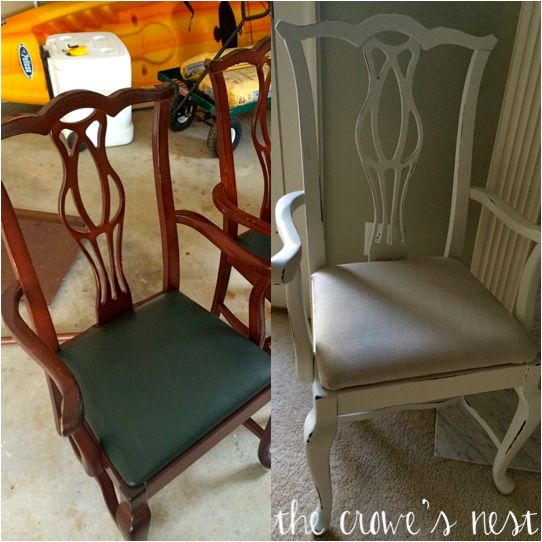
Here are the chairs before their thrifty makeover. For some of you this might be your style, but for me, I thought they needed a nice coat of white paint and a change to those pleather seat cushions.
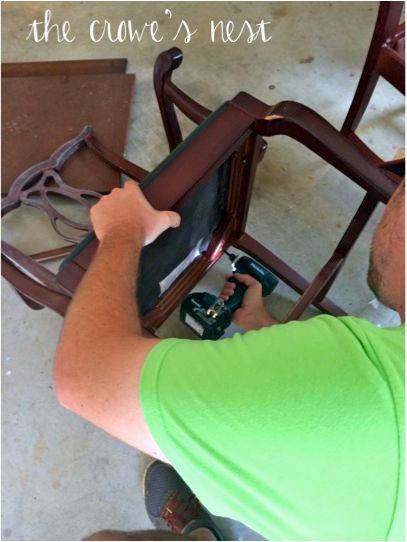
First step was to have my handy-dandy husband unscrew the seat cushions from the chair so that I could sand them and a prepare them for paint.
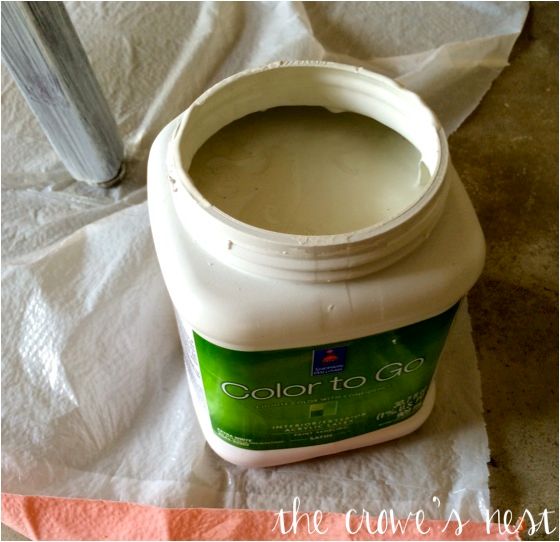
Typically, for a furniture project like this, I would use chalk paint. I've worked with it quite a few times, and the coverage and easy ability to sand are unlike any other medium I've ever worked with. But, in order to keep the cost low on these, I mixed a few white and off-white paint samples that I had left over from picking out trim colors for our house.
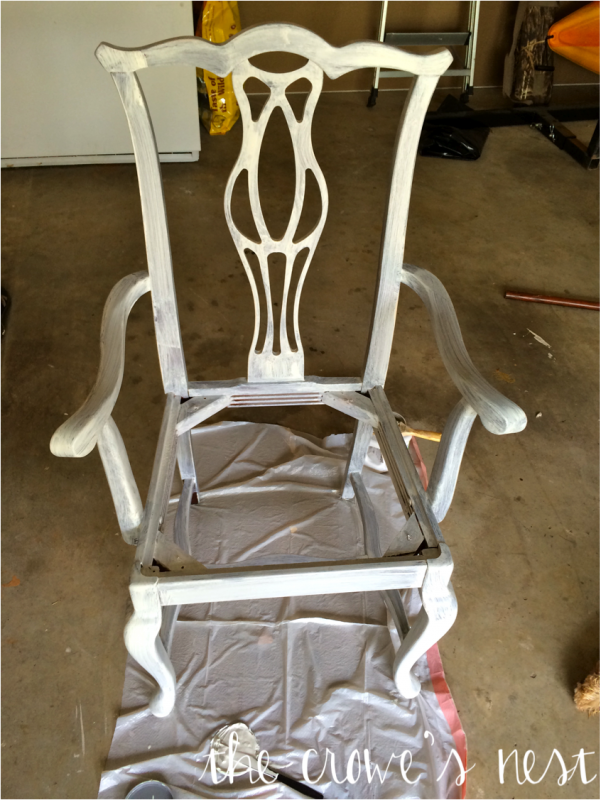
Then, I started painting. I used a paintbrush on these instead of a small roller. It did take about three coats to get the coverage that I needed. This picture was taken after one coat. Depending on the color you use, or the amount of character you want your chair to have, you may not need three coats.
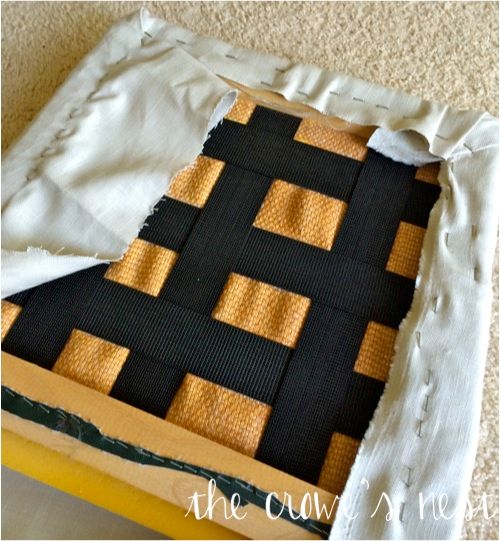
In the meantime while my paint was drying, I got to work on the cushions. For some reason, this was the part I was most excited about. I used left over fabric that I had from getting a chair recovered and a mudroom cushion made from Fabric and Fringe. It was a nice gray-ish linen that matches with the colors throughout our house. I first used a razor to cut around the staples from the previous cushion, so that it could be easily removed. Then, I laid and cut my fabric, and made sure that with each staple, the fabric was VERY tight. You want to make sure that you are pulling your fabric tight as you're stapling to reduce the risk of wrinkles. After you're done stapling, cut away the excess fabric.
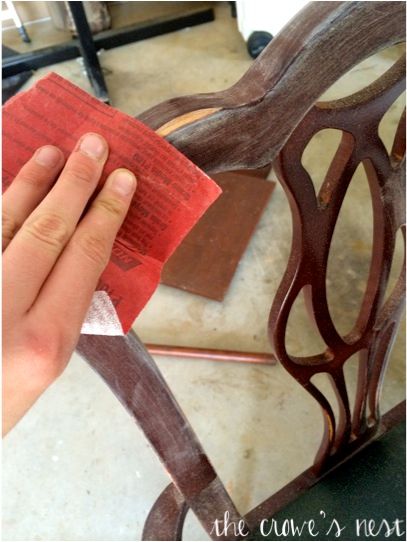
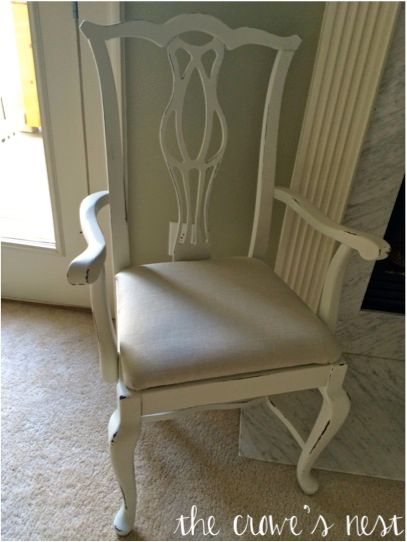
Once my chairs had dried after the three coats, I then took more sandpaper to "rough" them up a little. I love the antique look of chairs, and wanted these to look distressed. It also helps if you had any drips or imperfections while painting, you can just sand away those areas to give more it character. After the second sanding, we reattached the cushions, and TA-DA!


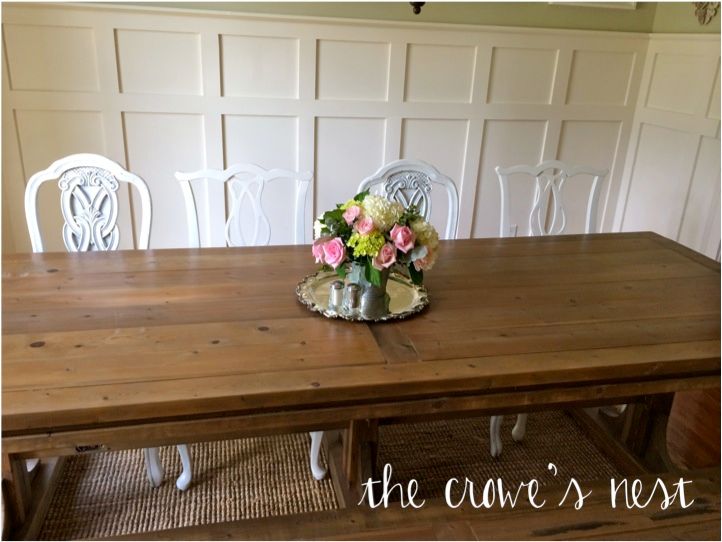
Love it! How would you do a solid wood chair that never had a soft set?
ReplyDelete